Disclosure: This blog contains links to my Amazon Associates affiliate page, and any purchases you make from that page may result in Amazon store credit for me. As always, I would never recommend something that I have not personally used and/or would not purchase with my own money.
Are you ready for the cutest coffee sleeve you’ve ever seen?
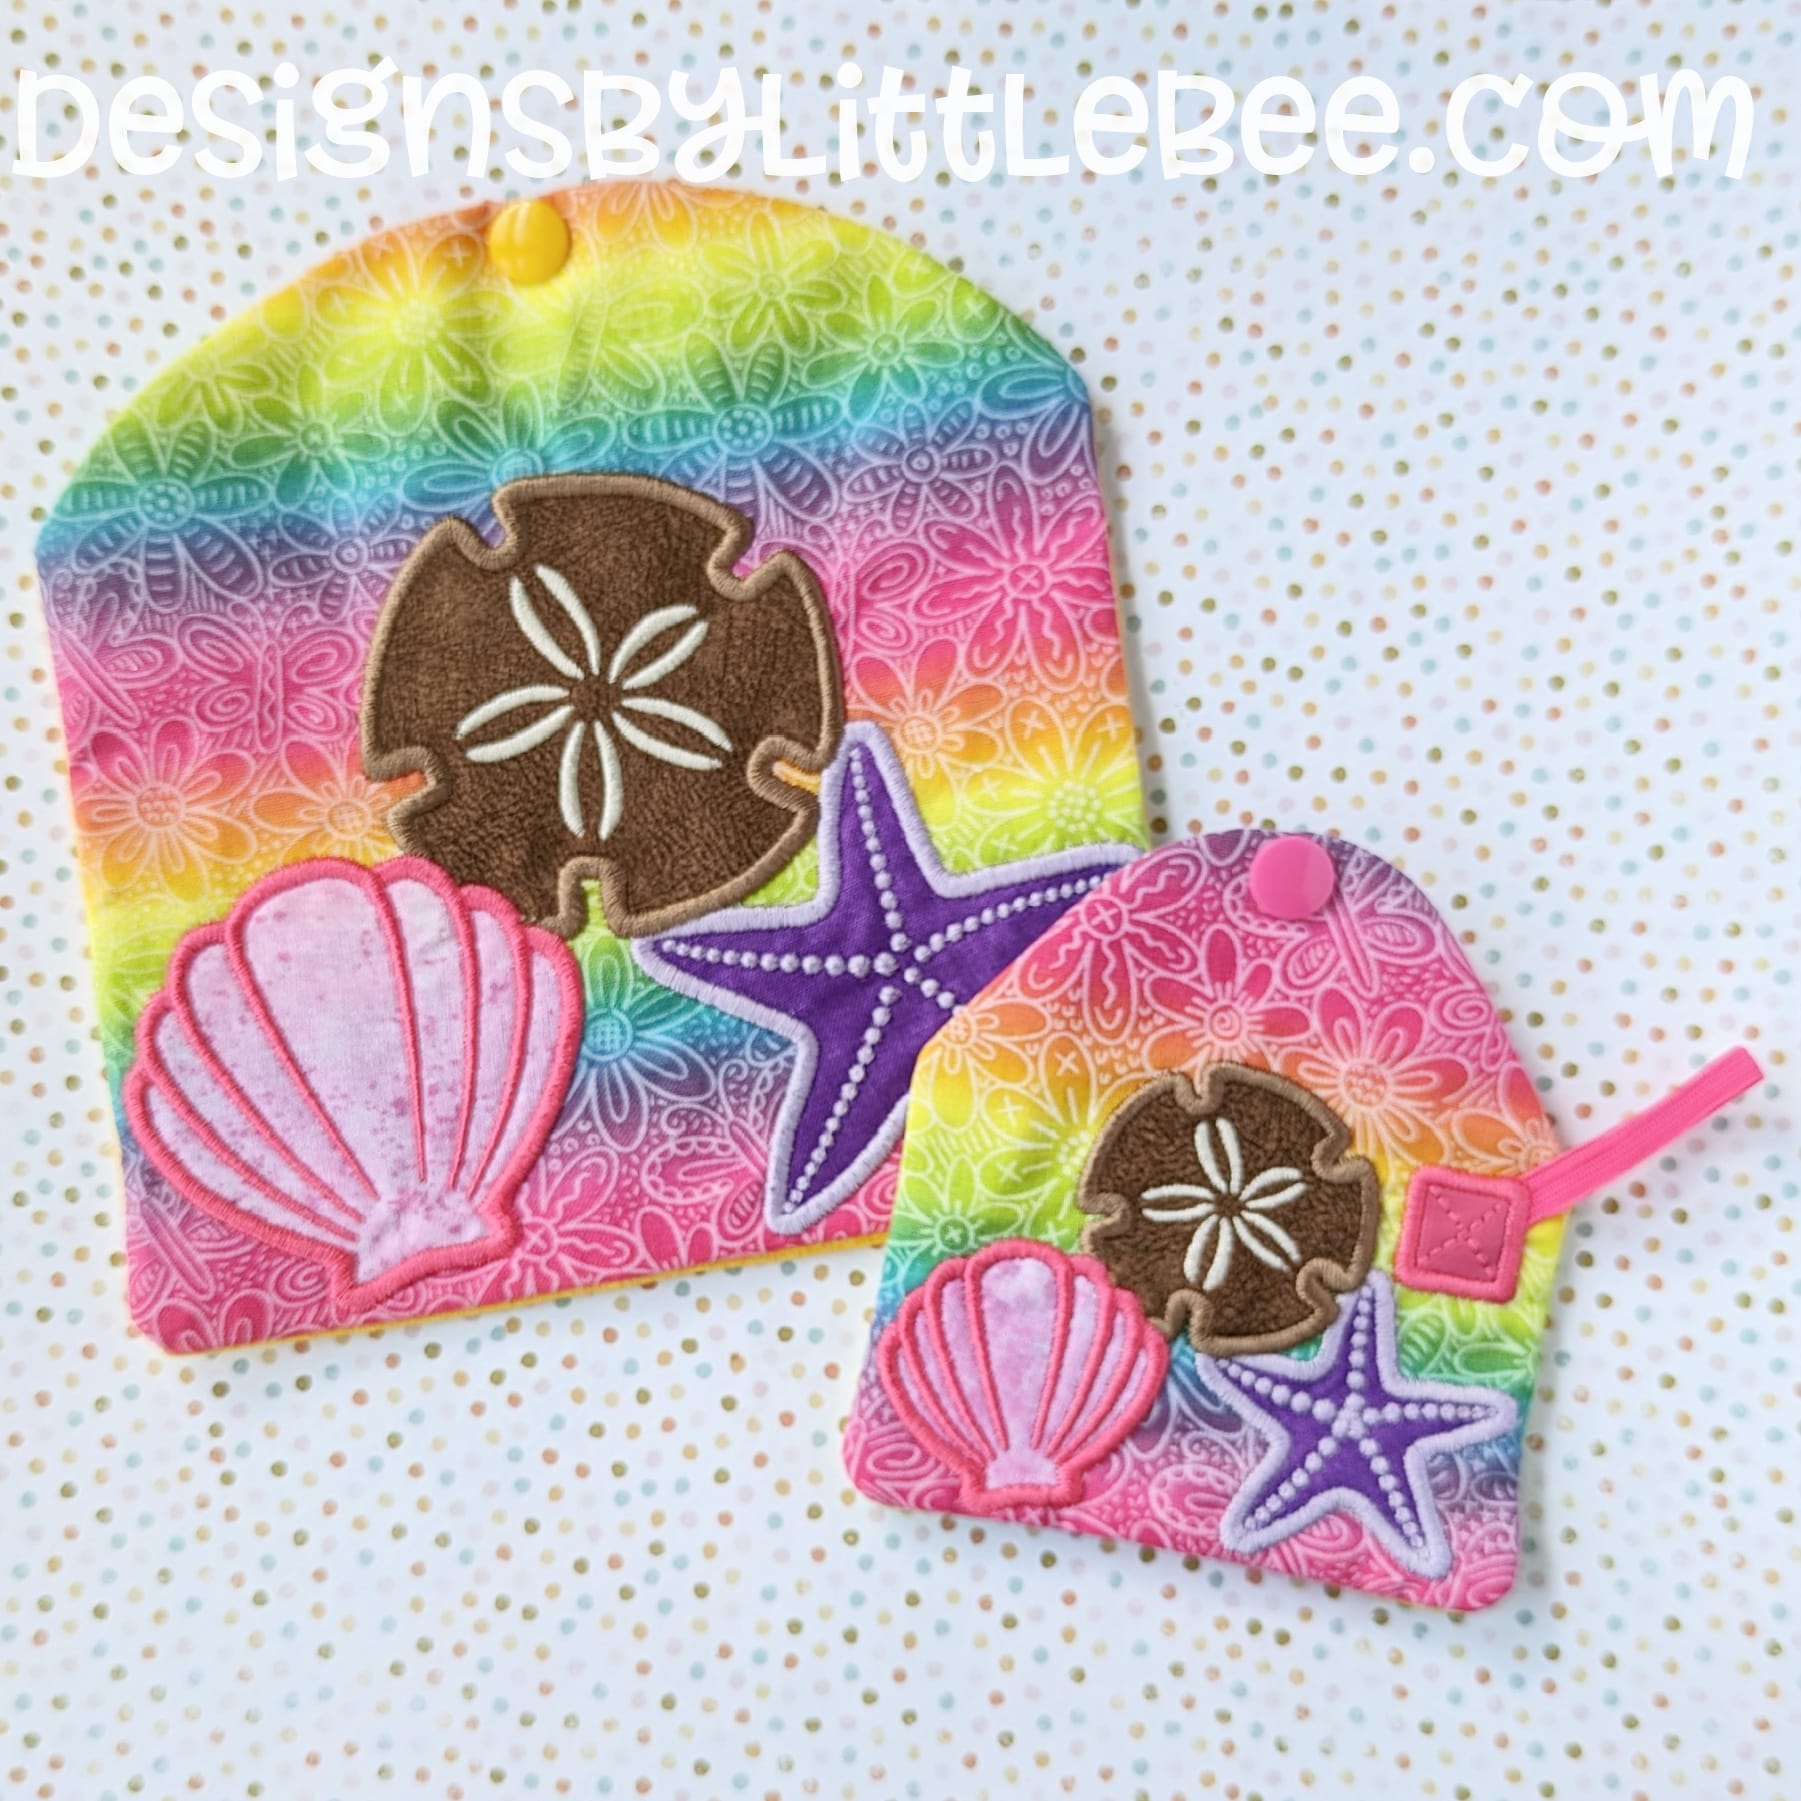
Highly personalizable and great eye candy for events and festivals, these adorable coffee sleeves stitch out in minutes! Each project comes with PDF instructions, of course, but this blog will give you some extra tips for crafting these projects for a great finished look.
A note on size: I designed these projects specifically for a Starbucks-or-similar sized cup. I have also found great little travel coffee cups at the dollar store that fit great. Here’s the key: Take your tape measure and wrap it around the cup, approximately 1″ under the lip of the lid. The circumference of the cup (the measurement around) should be right about 9.5″.
I use the same vinyl I use for every other project for these. I get mine at JoAnn, Amazon (some sample links here, here, here, here, here, here), Hobby Lobby, Walmart, and many specialty online stores like www.marinevinylfabric.com. I sometimes sell faux leather on my website, too.

Next, you’ll need eyelets. I suggest using larger eyelets than the usual 3/16″ we use for our charms. I have used both 7/16″ and 1/4″ eyelets, and I like the 1/4″ the best. They are what is shown in most of my coffee clutch pictures. I get these at Amazon and Walmart. When you make a purchase, be sure to check a photo of the measurements. In the products I have seen, the measurement is across the hole in the middle, not the entire eyelet. When buying online, I always check the photo given of the measurements so I know I’m buying the right size!

Here are photos of the larger and smaller eyelets I mentioned above. These are at Walmart. Notice the products on the left are the “tools” you need to install.


Speaking of eyelets, you’ll need a powerful punch to punch your holes for the eyelet. I use a Power Punch; you could also look for a leather punch at a craft or hobby store.
Next, let’s talk about straps/chains. The first question I know you’ll have is “How long should the chain be??” Well, in conceptualizing this design, I purchased several chains online to see what works best. All I had to go off of were pictures of similar projects online. Here are the three chains I bought off Amazon, linked in order from top to bottom here, here, and here. The top chain is approximately 8″ long, which is cute as decoration. The acrylic link chain (middle) is just over 12″ long, and absolutely adorable for matching the colors of your coffee clutch and/or your favorite team! The kit from Amazon comes with fifteen colors of acrylic links and you put them together yourself, which at first seems annoying but when you consider that you can link them in any color pattern you’d like, becomes fun! The bottom chain is the right length for “carrying” your coffee at just over 15″, however the lobster clasps at the ends are not big enough to hook into the wings of my coffee clutch, so these were a waste for me! That said, be sure to look at length of chain as well as clasp size!

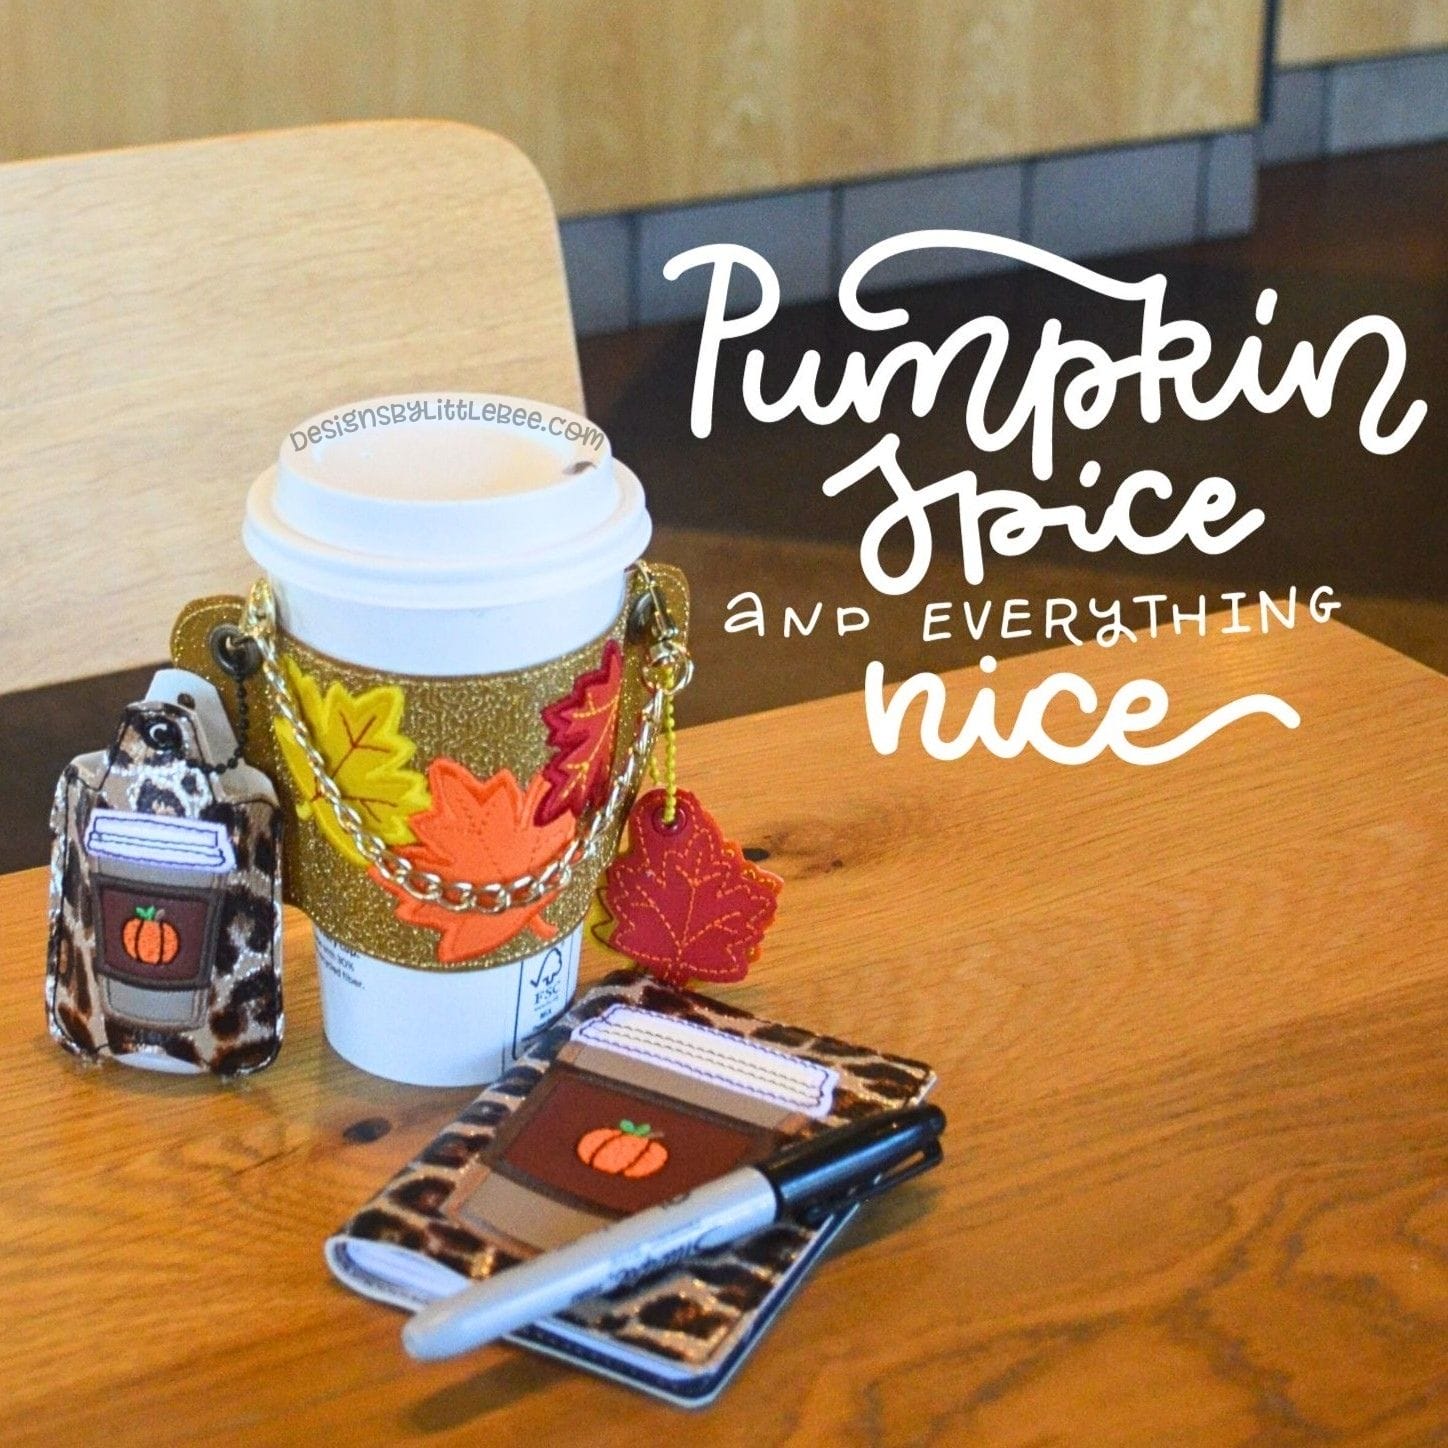
Some of my coffee clutch designs come with a strap to use with your sleeve! Please look at the picture as well as the description for the inclusion of a strap. These are provided in 7″ size (again, decorative, but included for those who are limited to 5×7 size) and 10″ size.


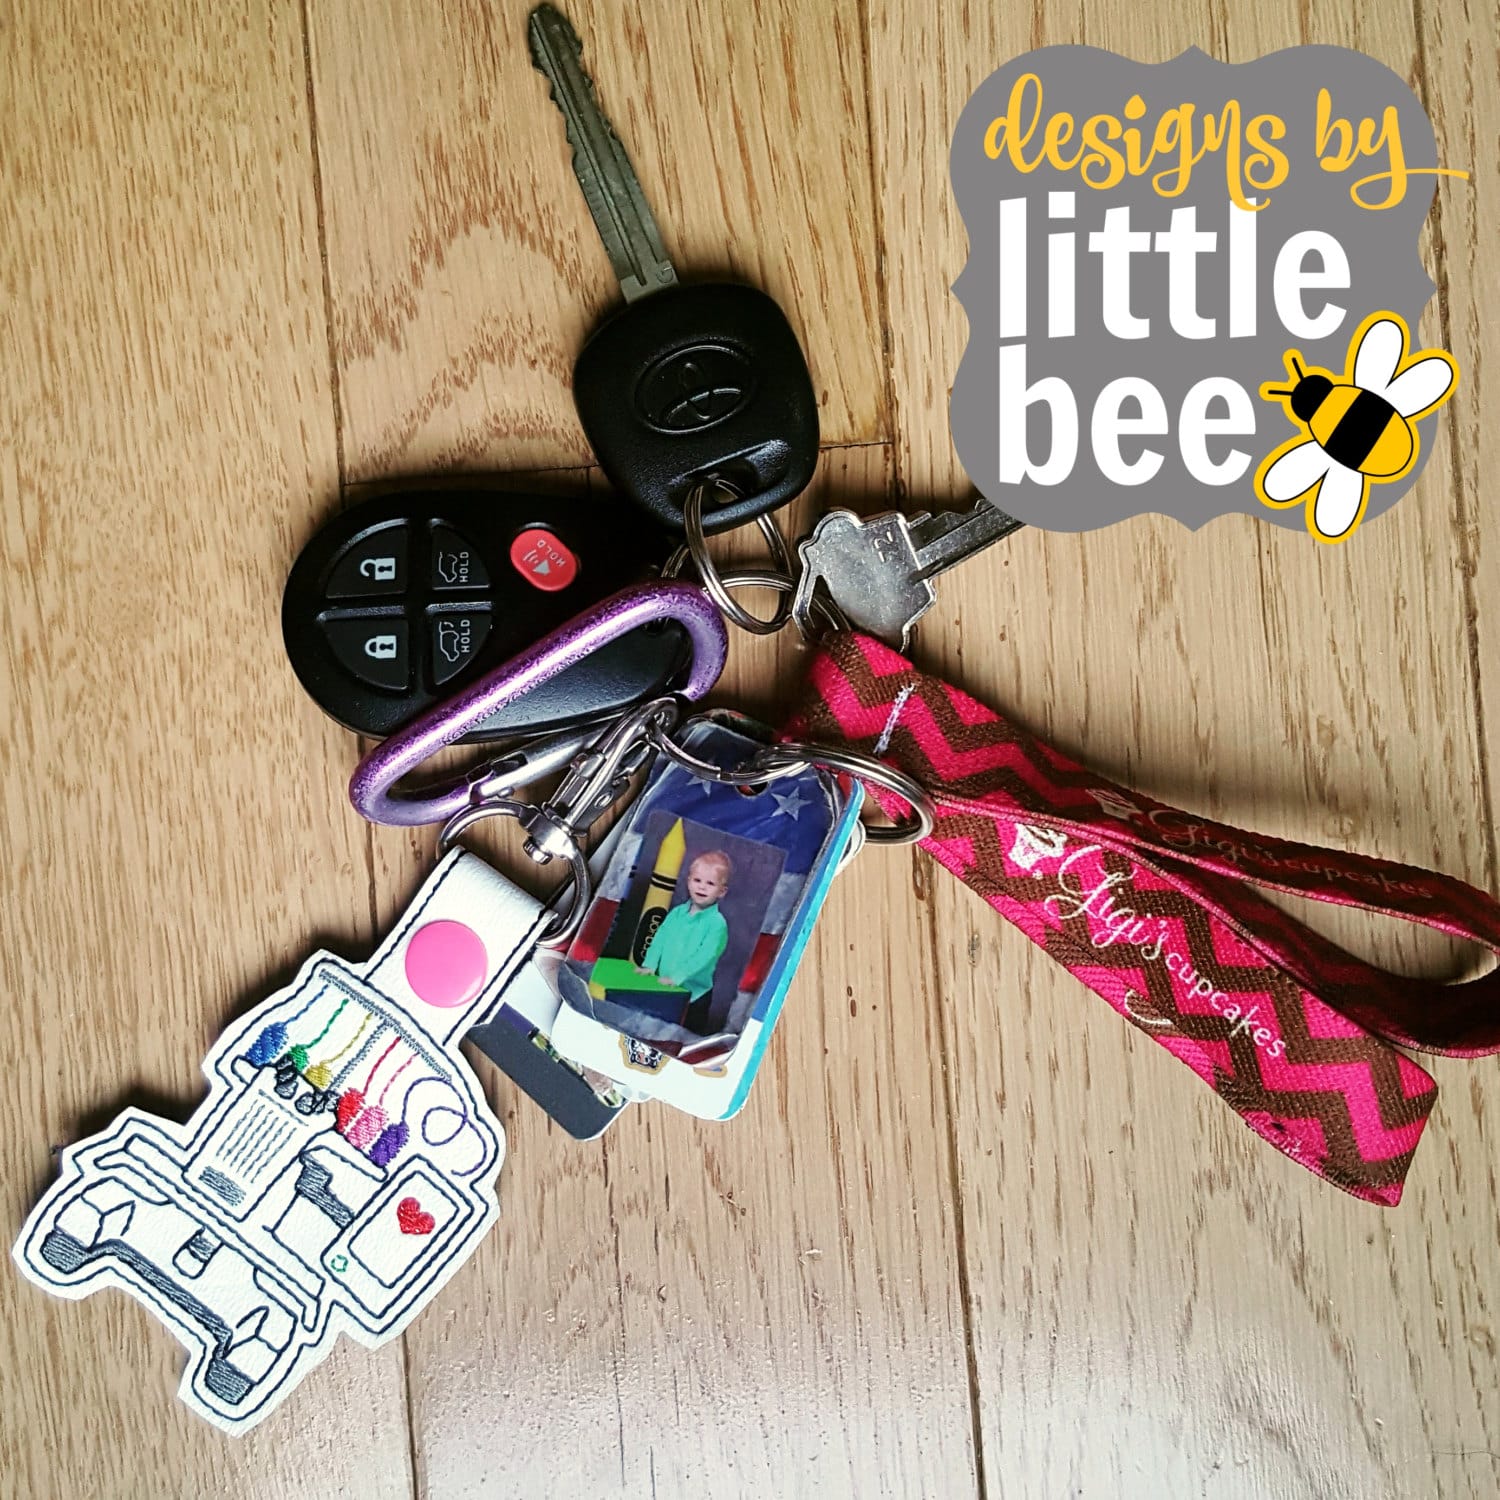
For additional personalization, add charms! Many of my coffee clutch designs also include charms, and for those that don’t, you can use any snap tab or eyelet fob design to make your own.

Oh! A final tip: I like to use the same vinyl, or at least the same texture/thickness on the front and back of my projects. This is so that the “wings” stay out and don’t fold over a thinner piece of vinyl. This is especially applicable for the coffee clutch with one handle (below). Please enjoy coffee clutch projects from DLB!