Below you will find the answers to some of the most commonly asked questions in this group. Please don’t be offended if someone has directed you to this blog to answer your question; this is the quickest way to disseminate the proper information to new members and new crafters!
- Who are you?
Excellent question! I am Melissa, AKA Little Bee. Although I have pals who test for me, I am the only person behind Designs by Little Bee digitizing. If you’re bored and/or nosy, you can read more about me here.
If you’re REALLY nosy, there is a public video that aired on national television a few years ago about my life with my husband here.
- What materials are necessary to make key fobs?
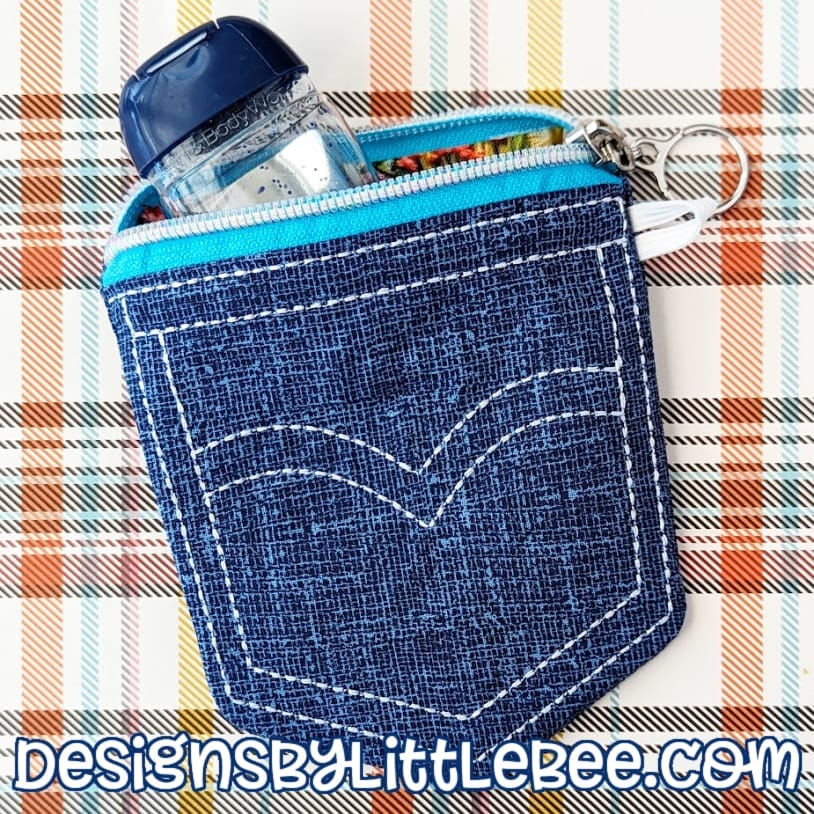
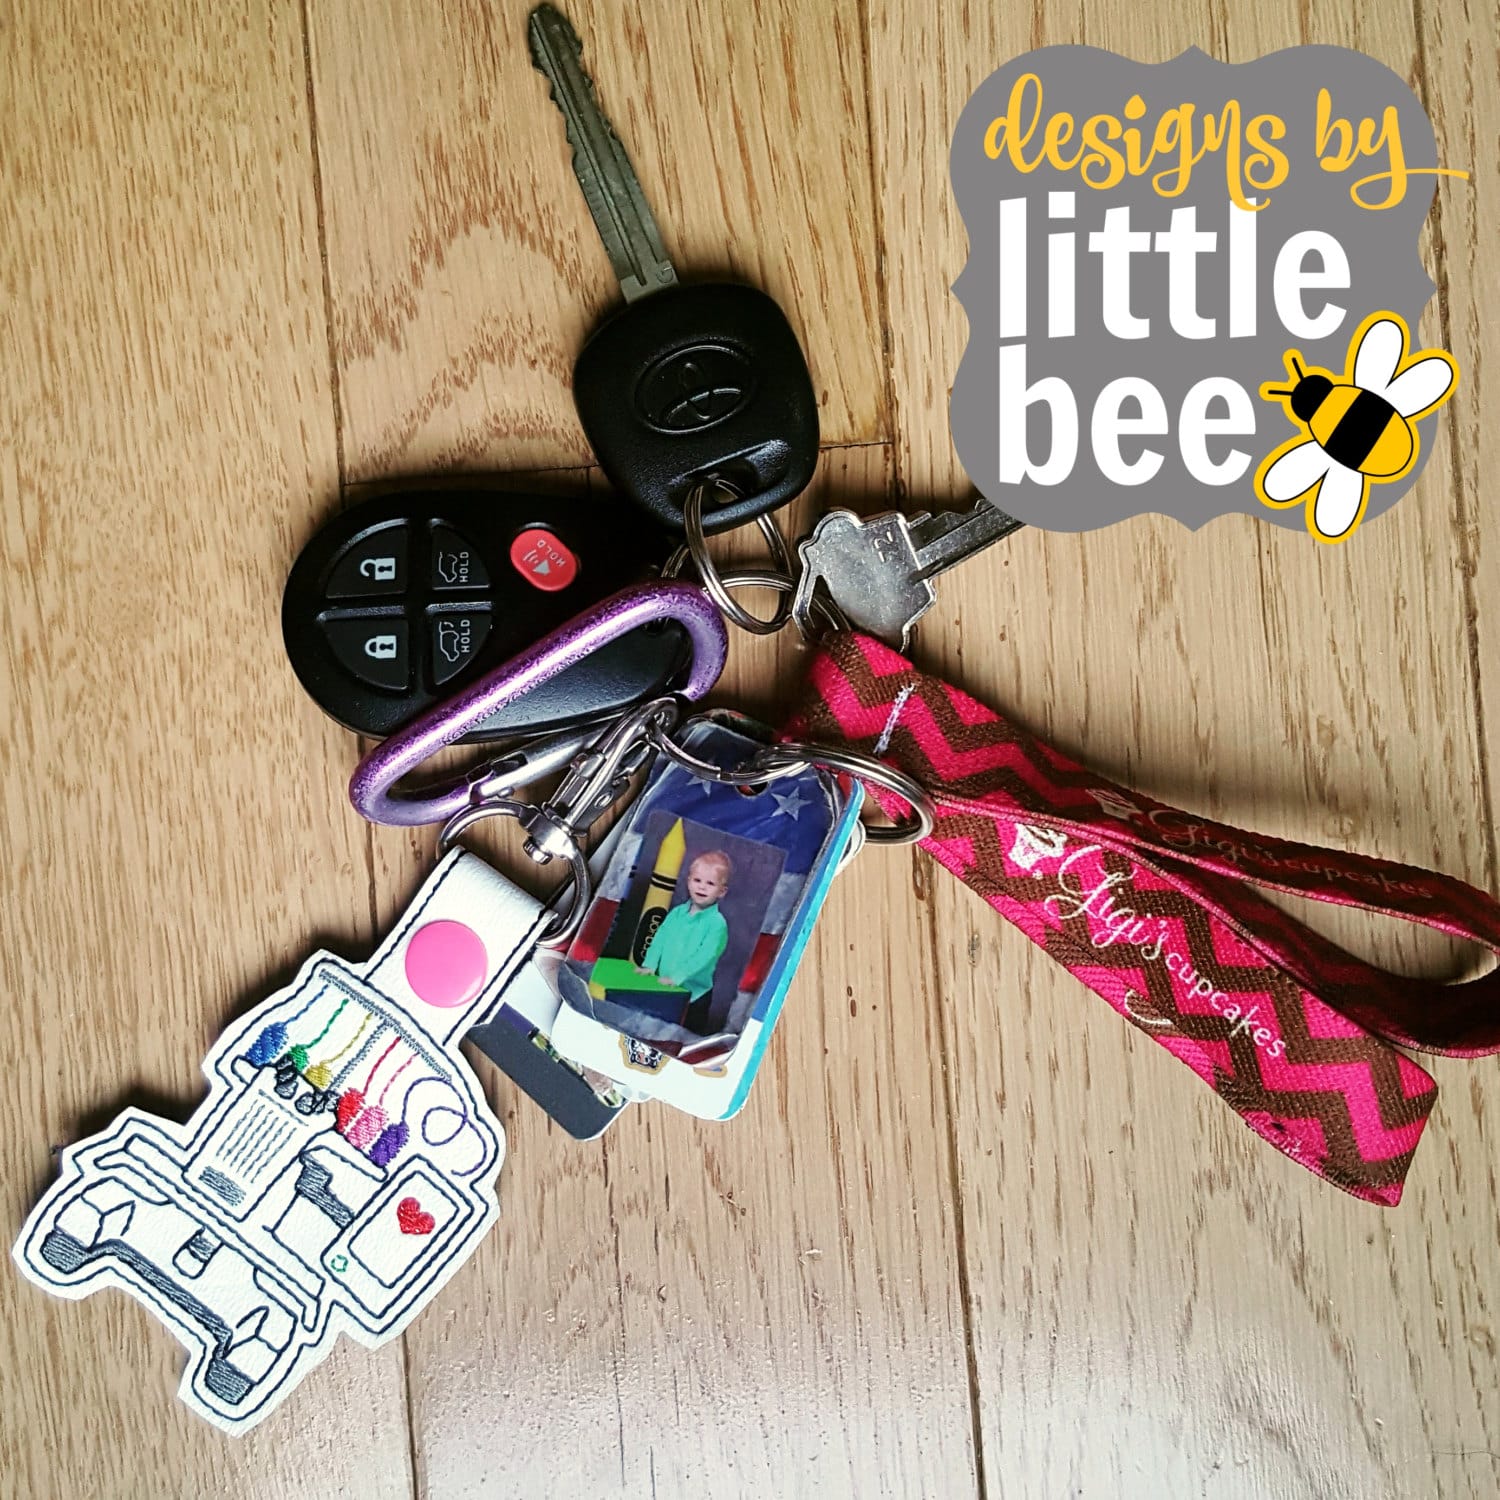
A “key fob” (as Little Bee designs them) is a keychain made with a design and a ribbon loop sticking out of it (to thread onto a split keyring). Materials would be: split keyring and fabric for the front and back of your key fob.
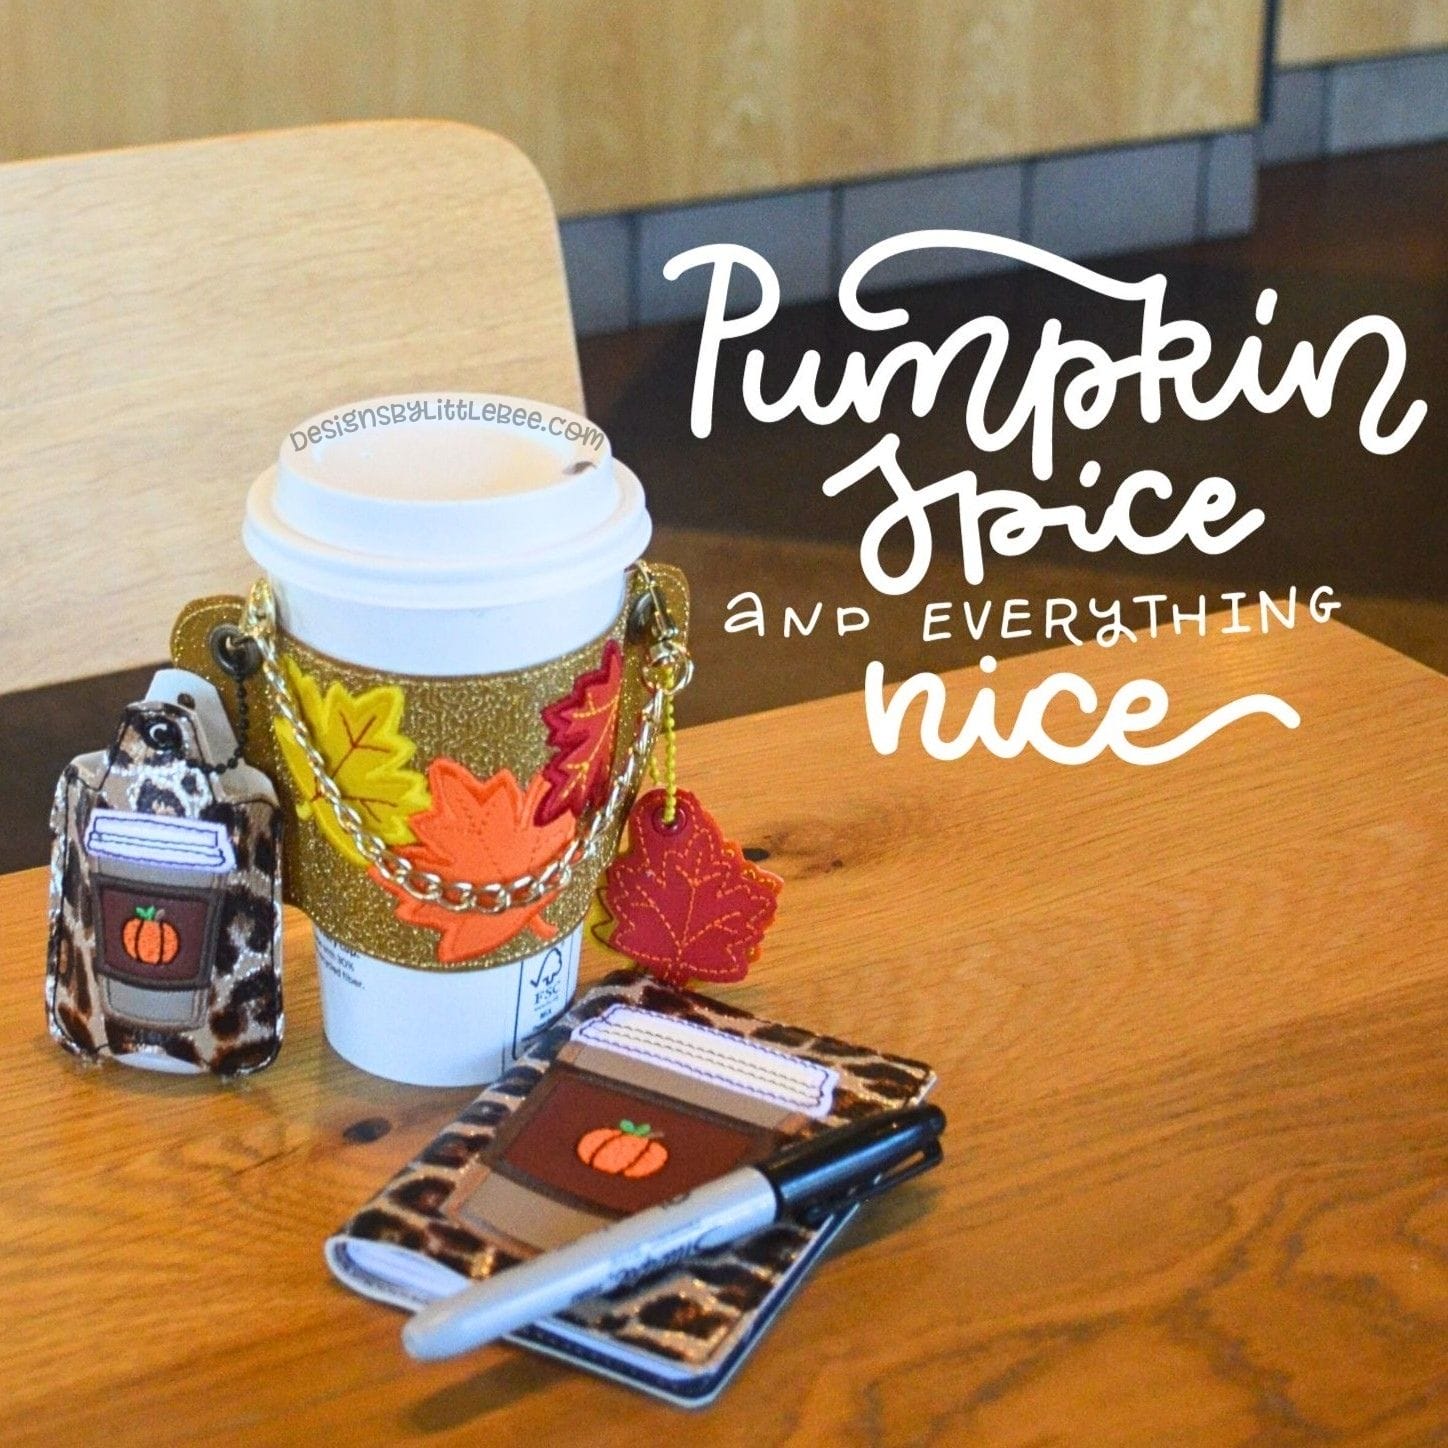
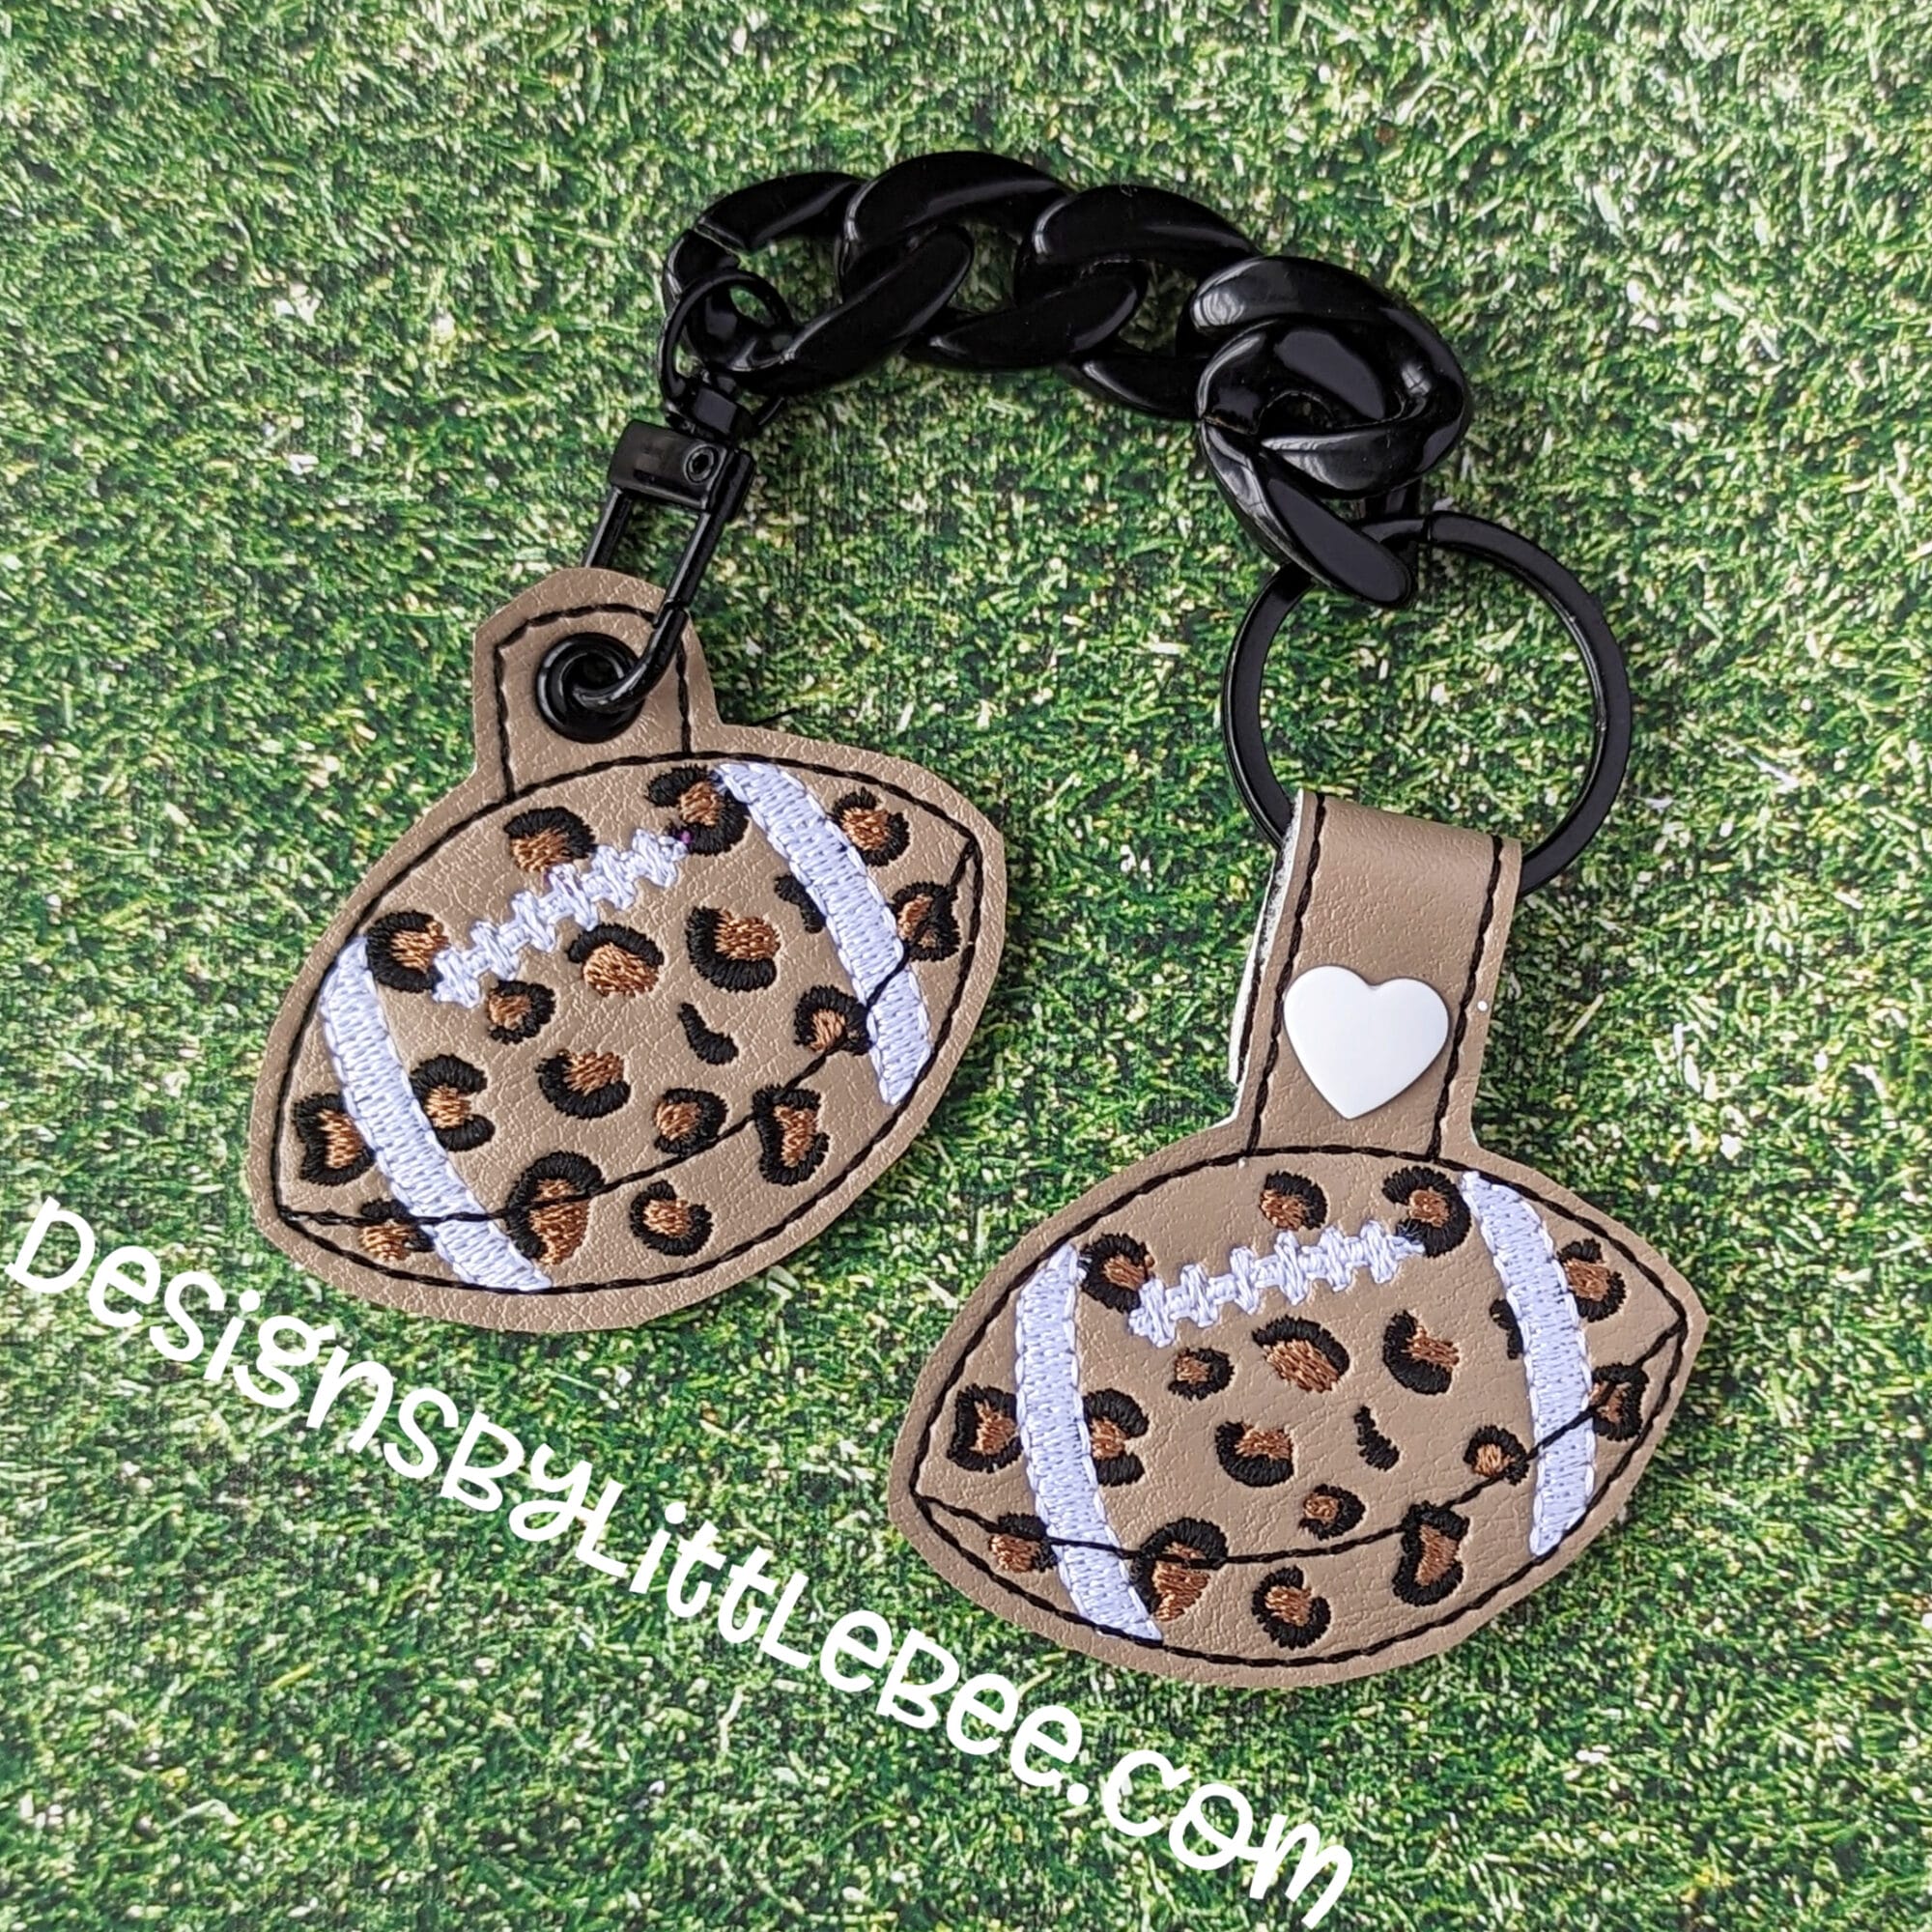
The very popular “snap tab” requires a set of snaps, pliers to smash them onto your project, and fabric for the front and back of your snap tab.
Note: I’ve seen people skip the “snap” part and glue or sew the tab down around a D-ring or keychain. I’ve also seen people use rivets or other metal findings. It’s your project – do what you want!
- What kind of fabrics do you use?
For key fobs and snap tabs, you can use any fabric you want. For my first few samples, I used seersucker on the front and marine vinyl on the back, and medium weight tearaway stabilizer in the middle. Marine vinyl is great because it’s sturdy and it doesn’t fray. Felt (especially a thick wool felt) is also a great choice for a fabric that doesn’t fray. If you’re using a cotton fabric and want to keep it from fraying so much, using Heat-N-Bond-Lite (hnbl) on the back of your piece of fabric, or Fray Check on the edges when you’re done. Search in any appliqué group for info about hnbl. Its use has been explained thousands of times and I don’t want to go into that here. 🙂
If you’re new to the world of vinyl, I have a YouTube video about what I use here.
- Wow, that sounds fun. Where do you get all this stuff?
Marine vinyl is available at some fabric shops. There are also other kinds of vinyl you can experiment with. Felt is available in any craft shop cheaply, thicker wool felt is sometimes sold on a bolt.
Vinyl at a fabric shop can seem expensive, but remember, you are making tiny key fobs. You don’t need a lot to start out with. The vinyl is in a LONG roll, so just get 1/3 or ½ yard, and don’t forget to use your coupon if you’re at JoAnn or Hobby Lobby.
A COOL place to get vinyl, and even glitter vinyl, is mikriworldsupplies.com. I am not paid to endorse them, I simply have ordered from them myself and love their product. Their prices and shipping costs are very reasonable.
Split key rings are available just about anywhere, from craft stores to WalMart to Target.
The swivel bolt clips with a D-ring that you see the snap tabs attached to? I have gotten those at a variety of places in the past, from Amazon to overseas websites to small suppliers online like MiKri World. Just be sure you’re getting the right size for the snap tabs you’re making; the tabs on my snap tabs are just over 3/4″ wide after cutting, so I’ve found that the 20mm size is a good one to try. That’s about .78″ wide. I’ve seen them called different names too, like lobster clasp keychains or D-ring keychains or lanyard hooks.
Snaps and snap pliers are sold in a variety of places. My JoAnn store carries them in the section for making cloth diapers. You can also find them on Amazon for a great price.
- What is this last step on this ITH project (snap tab, feltie, book band, etc.)?
The final step I call a “finishing bean stitch.” You place your backing fabric right side DOWN underneath your hoop – you can pin, use adhesive spray, or *GASP* hold it there – and run the final step(s), sealing up your key fob to hide those ugly stitches on the back.
- Do you have any tutorials I can watch?
I sure do. My YouTube channel is here. I don’t create video tutorials on any kind of set schedule, because they take up a LOT of time (between filming and editing, about two working days – and as a mom of small children, I don’t always have this much time). I do try to be helpful when I create a design that I think could use some visual instruction. EVERY design I sell comes with a .PDF of instructions, even if it’s just a general list for the style of project (e.g. “Feltie Instructions”).
I like to end my .PDF instructions with, “Remember, my steps and tips are not embroidery law; experiment and have fun!” And I mean it! You may find something that works great for your machine, software, and materials, that totally doesn’t work for someone else. That’s true in all of embroidery. #happystitching